Want to eat healthier and try something new? Turmeric is not only a bold spice that adds colour and flavour to food, but it's also healthy because it helps the body fight inflammation and acts as an antioxidant.
What if you could grow turmeric at home yourself? It may sound difficult, but we've made it easy for you with seven simple steps so you can grow your own turmeric at home - right from your garden or balcony.
You don't have to be a gardening expert to try it. If you want to boost your diet with home-grown health, read on as we guide you on how to successfully grow turmeric.
Table of contents
ToggleQuick guide to growing turmeric indoors
Growing turmeric is simple and can be very rewarding. Here's a mini guide to the process:
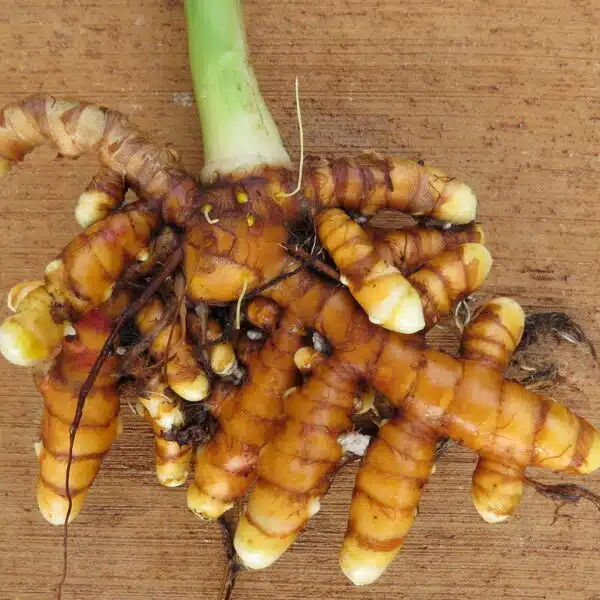
Select Rhizomes: Start with healthy, fresh turmeric rhizomes (the underground stems that look a bit like ginger), which you can find in a supermarket.
Prepare the Earth: Plant in well-drained, nutrient-rich soil coconut flour. Turmeric thrives in warm, humid climates. When growing indoors, consider a heating mat under the mini greenhouse to stimulate growth.
Planting: Plant the rhizomes about 5 cm deep with the buds (eyes) facing upwards. If growing indoors, use seed trays / mini greenhouses, as the plant can grow quite large.
Water and Humidity: Water regularly to keep the soil constantly moist but not water-logged. High humidity is ideal.
Light: If you don't have access to bright natural light, you can grow light be necessary. Turmeric requires plenty of light to thrive.
Care: Lightly fertilise monthly with an organic/organic fertiliser. Keep an eye out for pests and diseases and treat as needed.
Harvest: Turmeric is ready to harvest when the leaves and stems begin to wilt, typically 8-10 months after planting. Carefully dig up the rhizomes.
This quick guide will give you a solid starting point for growing turmeric, whether you're a beginner or a more experienced gardener.
Read below for more in-depth answers.
Pre-germination in early spring
Turmeric should be pre-sprouted indoors in early spring, as it is a tropical plant that requires warmth to germinate.
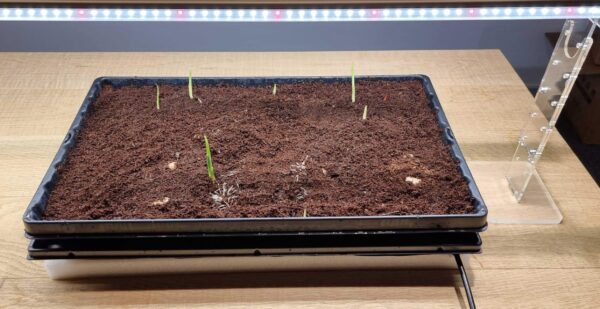
Benefit of using coconut fiber for pre-sprouting
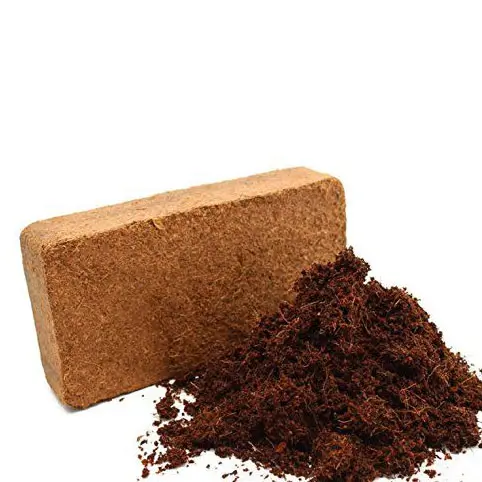
Coconut flour is a residue from coconut kernels. It is a sustainable material that can be used as a soil improver and to grow plants.
Coconut fibre is lightweight, porous and retains water and nutrients well.
It is a great alternative to regular potting soil as it is free from weed seeds and pests.
The material is environmentally friendly as it recycles waste and does not contain sphagnum, which is known to be particularly harmful to the environment.
After use, coconut fibre can be recycled in the garden as a soil improver, making it a sustainable choice.
The coconut soil may improved by adding perlite.
-
Coconut mould - Plagron Cocos Brix 6x9L - Coco Coir
- kr. 149,95
- Add to basket
Item no.: 28093 -
Coconut mould - Plagron Cocos Brix - Coconut soil
- kr. 28,00
- Add to basket
- Rated 5.00 out of 5
Item no.: 28059
Mini greenhouse with underfloor heating
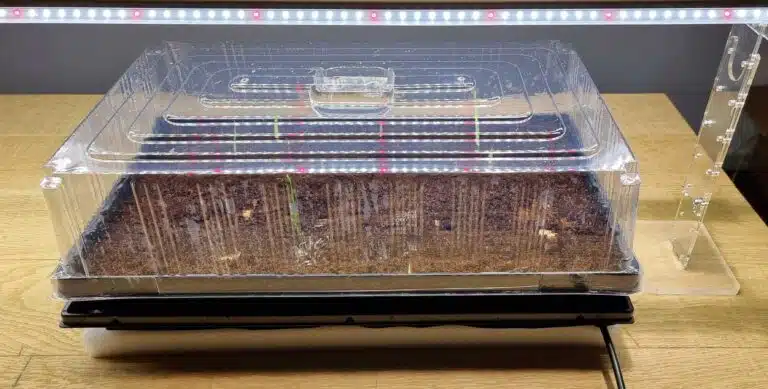
As turmeric is a heat-loving plant, it is important to keep the growing medium warm and moist, but not soaking wet as this will cause the rhizomes to rot quickly.
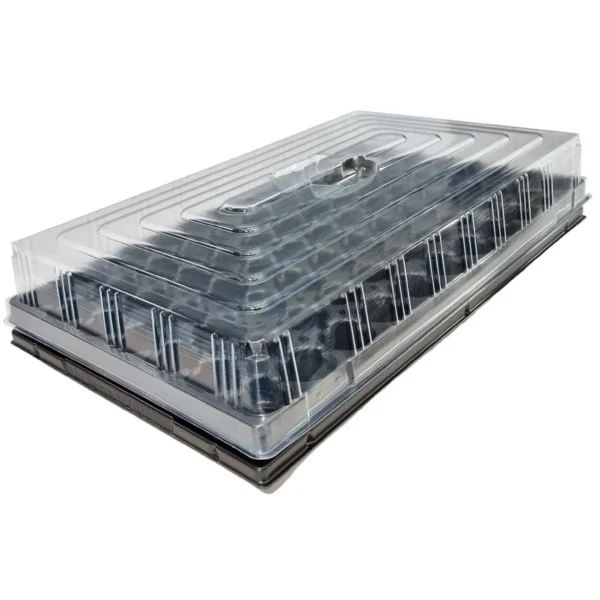
The most effective and fastest method is therefore to use a large mini greenhouse with an under tray that can be watered underneath during the growth period.
Under the mini greenhouse, place a heating mat, under which a polystyrene plate or similar is placed. insulation so that the heat does not disappear into the table and is thus wasted.
The transparent lid of the mini greenhouse should be as high as possible (min. 12cm), as the plants grow quickly and become tall.
This way you can keep your plants in the mini greenhouse for as long as possible.
-
Mini greenhouse QuickPot QP77 D with sub-watering tray, lid
- kr. 199,00
- Add to basket
Item no.: 28130 -
- Sale!
SunLight Pro-Gro T8 grow light luminaire 12Watt 60cm
-
kr. 339,00Original price was: kr. 339,00.kr. 247,00Current price is: kr. 247,00. - Add to basket
Item no.: 26074 -
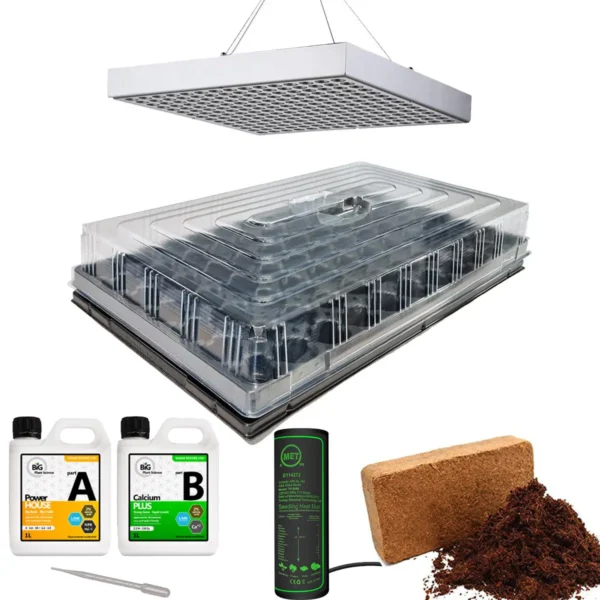
Intermediate starter package for pre-sprouting plants
- kr. 1.047,00
- Add to basket
Item no.: 28058
Grolys promotes growth
To promote the growth of your turmeric shoots, you need light, and you can achieve reasonable growth by placing them on a windowsill in a west or east-facing window.
Never use a south-facing window, as the sun will cook the small plants in a very short time.
A more secure solution is to use one grow light lamp. This is to ensure that your turmeric doesn't overheat in the sun and that it gets the right amount of light.
It is recommended to have the light on for approximately 12-16 hours per day, depending on how powerful your lamp is.
Transplanting the turmeric plants
When the new turmeric When the shoots reach the lid, it's time to transplant them to a larger pot so they can grow bigger over the summer.
Using coconut fibre is an advantage here, as the material is so loose and light that it's easy to continuously prick the plants without damaging their vulnerable roots. At the same time, you can leave the rhizomes that have not yet germinated in the seed tray.
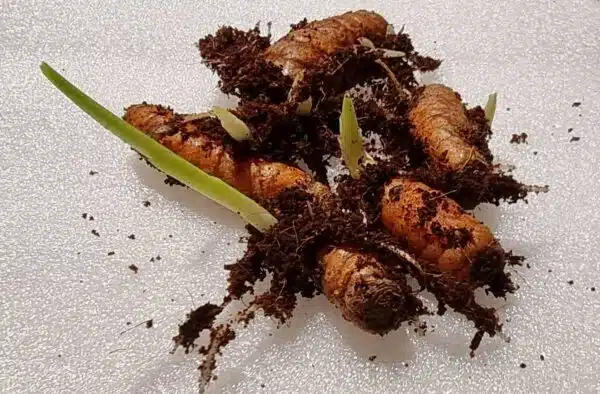
After about 2-3 weeks, all the rhizomes will sprout and are ready to be repotted into pots or containers where they will grow over the summer.
If they grow in coconut fibre, it's super easy to pull them up by lifting them by the shoot.
If you have chosen to pre-germinate them in seed soil/germination soil, it may be necessary to loosen the soil first so as not to damage the tiny roots.
It is also possible to plant them directly in the pot in which they will grow, but this requires much more patience as they can easily take 4-6 weeks to germinate without underheating.
The procedure for repotting
Here's how you do it:
Then turmeric rhizome like ginger primarily grows horizontally, it is important that the pot has a relatively large diameter, preferably a diameter of at least 20 cm, and it should also be at least 30 cm deep.
Fill the container with nutrient-rich soil or potting soil, to approx. 3/4 part. Feel free to put some pot shards or stones at the bottom to create a good drainage.
Plant the turmeric on the ground with the small roots spread out evenly and the shoot vertically up from the ground. Cover the rhizome with a layer of soil so that it is only just covered.
Watering the turmeric: Turmeric needs regular watering, but it is important to avoid overwatering as this can lead to rotten roots. It is best to water the soil when it is dry and avoid watering the plant directly.
Fertilizer or compost: Turmeric plants need nourishment to grow properly. Use either a compost or a fertilizer to give your plants the nutrients they need.
Location: Turmeric needs lots of sunlight and heat to grow. It is best to place your turmeric plants in a place where they can get at least 6 hours of direct sunlight each day, preferably morning and afternoon sun. It is also important to avoid exposing them to cold and drafts, since turmeric is a tropical plant.
Wait for your turmeric roots: It can take up to 10 months for your turmeric roots to grow to a size large enough to harvest. When the roots are ready, pull them out of the ground and dry them in the sun before using them.
-
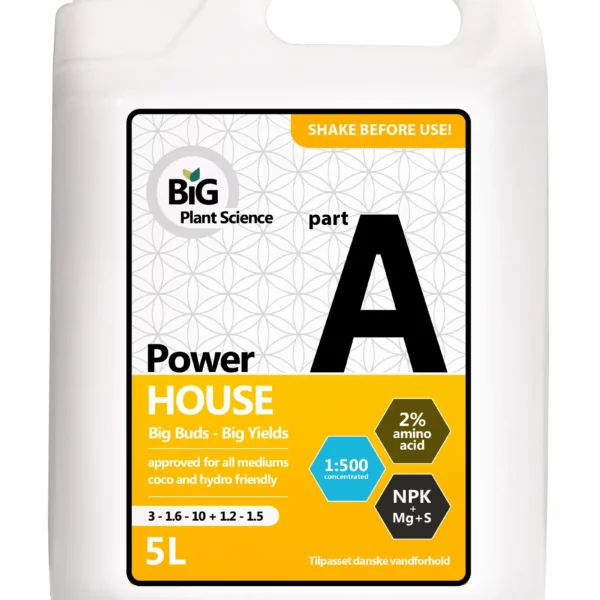
Liquid plant fertilizer for hydroponic growth BioPower A | 5L
- kr. 334,95
- Add to basket
Item no.: 28070
Prevention of pests and diseases
Turmeric can still be attacked by various diseases and pests. Follow these tips to prevent and combat the problems:
- Place the plant in a sunny and well-ventilated area to minimize the risk of moisture and fungus-related diseases.
- Keep the soil moist, but avoid flooding as too much water can lead to root rot and other problems.
- Remove weeds and other dead material from the area around the turmeric as it can attract pests and diseases.
- Inspect plants regularly for signs of pests such as spider mites, aphids, etc. Use insecticides or natural methods such as neem oil or soapy water to control them.
- Only use organic/organic fertilisers, as synthetic fertilisers can negatively affect plant health and also cause a build-up of chemicals in the soil.
- Rotate the plant regularly for even growth.
- Avoid damage to the plant as this can lead to infections.
By taking these precautions, you can help ensure your plants thrive and stay healthy, free from pests and diseases.
FAQ - Frequently asked questions
This means your plant is overwatered. Usually the lower leaves fall off, although the whole plant may be affected. The solution may be to transplant and water less.
Also consider whether your plants are getting enough sunlight.
Some pests can affect turmeric plants and cause yellow leaves, check carefully for signs of pests.
Turmeric plants need regular watering to grow and thrive, but it's important to avoid overwatering them. In general, you should water your turmeric plant when the soil feels dry to the touch.
It is better to let the soil dry out a little between waterings than to overwater your plant, as excess water can cause rot and other problems.
As a starting point, you should water every other day throughout the summer, and fertilize them every 14 days with a good nitrate-rich fertilizer.
You can find them in most supermarkets and greengrocers.
Yes, it is possible to grow turmeric indoors, but it requires some special conditions to ensure that the plants thrive.
Turmeric plants need warm weather and plenty of sunlight to grow and thrive, so it's important to place your plants where they get at least six hours of direct sunlight a day.
If you don't have a spot with enough sunlight, consider using a grow light lamp to give your plants the light they need. It's also important to choose the right type of soil and make sure your plants get enough drainage to avoid flooding the roots.
You should plant your plants in a mixture of sand, vermiculite and coir/cocoa husks to create a light and well-drained soil mix.
Growing Turmeric outdoors in Denmark is a challenge. This is mainly because the temperature is rarely warm enough for the tropical plant. It thrives best at a minimum of 20°C and preferably up to 30°C in mid-summer.
Therefore, it will be most optimal to grow it in a greenhouse, in a shady corner, or covered with a fiber cloth.
Turmeric plants usually take 7-10 months to grow and mature for harvest. If you planted your turmeric in spring, it will typically be ready to harvest in autumn. When the turmeric plant is mature, its leaves and stem will begin to dry out and lose their green colour. This is a sign that the plant is ready to harvest.
When you think your turmeric plant is ready to harvest, carefully dig up the roots and check them to see if they are brown and dry. If so, your turmeric is ready to harvest.


